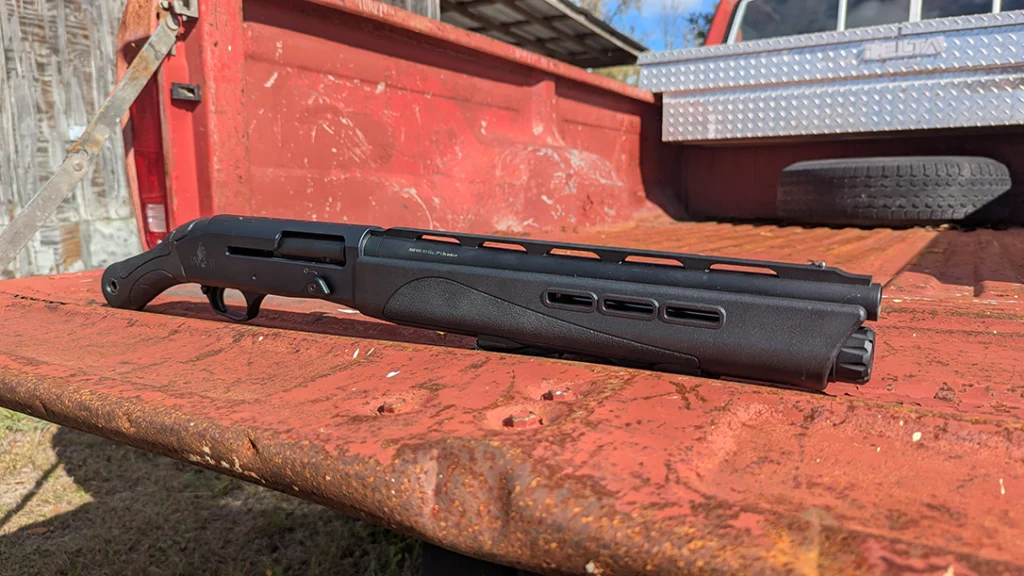
Completing an AR build is a popular hobby in the shooting world. Much like a gearhead hot-rodding a ’33 Ford Coupe, nothing beats crafting your own rifle if you are a shooter. Fortunately, the AR-15 is an easy platform to work on, and building one from the ground up is easy even for novices.
Just like a hot-rodder can drop a complete crate motor into a car body or instead build their own from the block up, so can a shooter build an AR-platform rifle from number of starting points. Many people choose a stripped lower that they can add parts to and get on the range quickly. A stripped lower has had all of the machining work done and carries a serial number. These lowers must be transferred through a firearms dealer like any other gun. But in this article I want to show you how to machine your own lower, bypassing the need for transfer fees and increasing the amount of craftsmanship you can apply to your build.
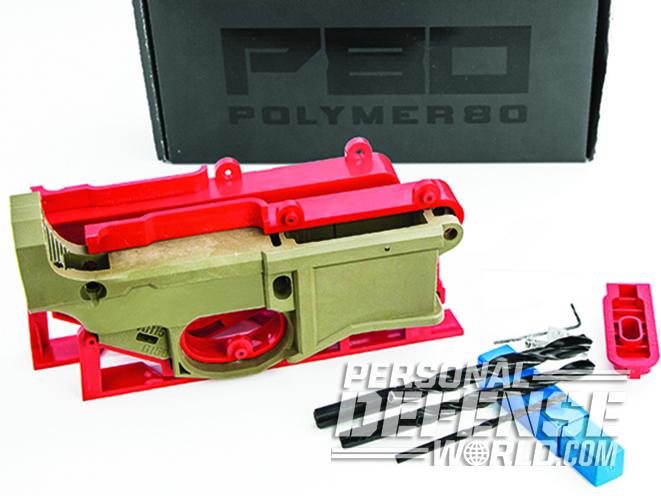
While the term “80-percent lower” has no legal definition, it is a term frequently used in the industry to refer to a piece of aluminum or polymer that has not been machined enough to become a firearm. At some point, a machined block of material will cross an invisible threshold and become a legal firearm that must have a serial number and be transferred through a federal firearms licensee. An 80-percent lower receiver is a hunk of metal or plastic that has a similar shape to a serialized AR lower, but it still needs to be machined prior to it becoming an actual firearm. Since an 80-percent lower is not a firearm, it can be ordered and delivered through the mail like any other non-firearm part.
Advertisement — Continue Reading Below
While there are no federal prohibitions against making your own firearm for your personal use, there are laws regarding the transfer of a personally made gun to others. Additionally, there may be state and local laws that can affect your ability to build your own firearm legally. Make sure you check with the appropriate government agency if you are unsure of the legality of building your own gun in your area.
Polymer Vs. Aluminum
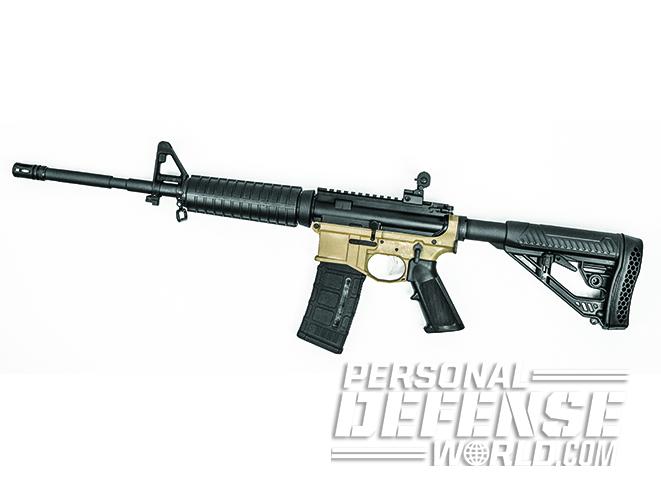
In theory, there is little practical difference between aluminum and polymer lowers. Both should be made to similar tolerances and should be compatible with any of the mil-spec parts on the market. However, I’ve found that reality doesn’t always align with theory when it comes to 80-percent lowers.
Advertisement — Continue Reading Below
- RELATED STORY: 8 AR-15 Rifles Available For Under $1,000
In general, I’ve found that forged aluminum lowers tend to be sized correctly. That means the magazine well and various detent holes have been properly machined, and the finish is uniform. In my experience with several brands of 80-percent polymer lowers, there is not the same piece-to-piece consistency. Sometimes a hole hasn’t been properly drilled or is partially filled with bits of material, or the magazine well is a little too tight and needs sanding to allow magazines to drop free.
The upside to polymer lowers is that they tend to be easier to machine. With the right jig, you can finish a polymer lower with just hand tools—no drill press is needed. If you are tight on space and owning a drill press is not in your future, a polymer lower might be the better option.
1.) Installing The Pivot Pin
Advertisement — Continue Reading Below
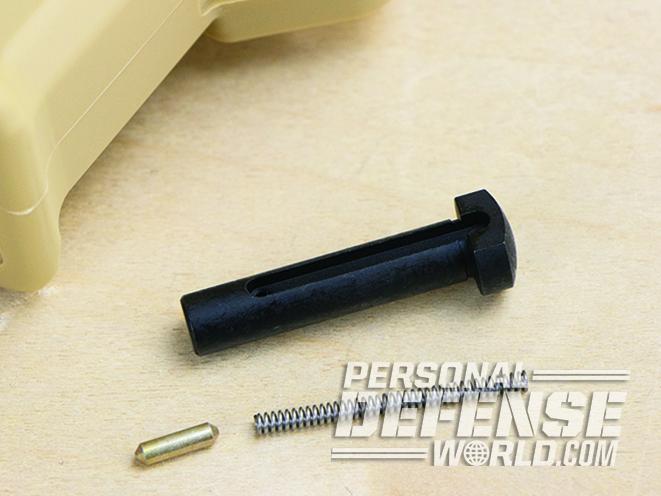
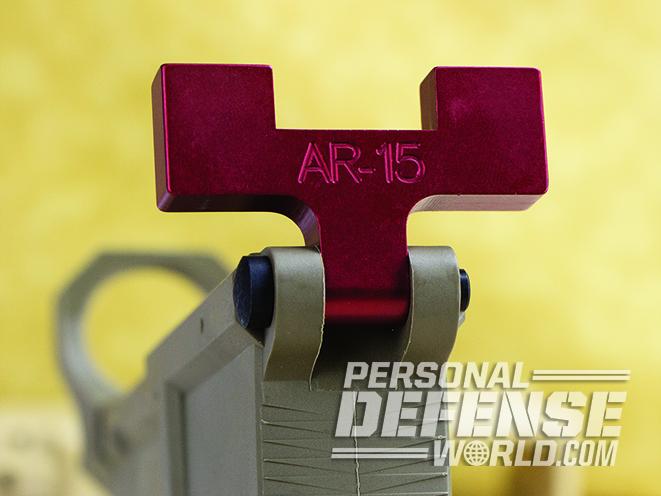
To use the Modulus Arms jig, you must first install a pivot pin in the 80-percent lower. To do this, you need a pivot pin, a pivot pin detent and a pivot pin detent spring. The Brownells Pivot Pin Tool Kit makes this step very easy.
Thread the large Brownells tool from the kit through the pivot pin holes and align the small hole in the tool with the hole for the detent and spring. Slide the spring through the tool and then place the detent on top of it. Using the second Brownells tool, press the detent into the hole and rotate the tool so that the detent is captured in the hole on the lower and under the tool. Then slide the pivot pin into the lower, being careful to align the trench on it with the detent. As the pivot pin slides into place, the detent will snap into position.
TIP #1: Order a few extra pivot pin detents from Brownells. They are small and can easily get away from you. The upside is that the parts are inexpensive, so having a few extra on hand won’t hurt your wallet.
Advertisement — Continue Reading Below
TIP #2: When you’re working with a polymer lower, check to ensure that the detent hole is properly sized. To do this, hand-fit a 3/32″ drill bit into the hole. If there is resistance, open the hole using by lightly twisting the drill bit by hand.
2.) Assemble The Jig
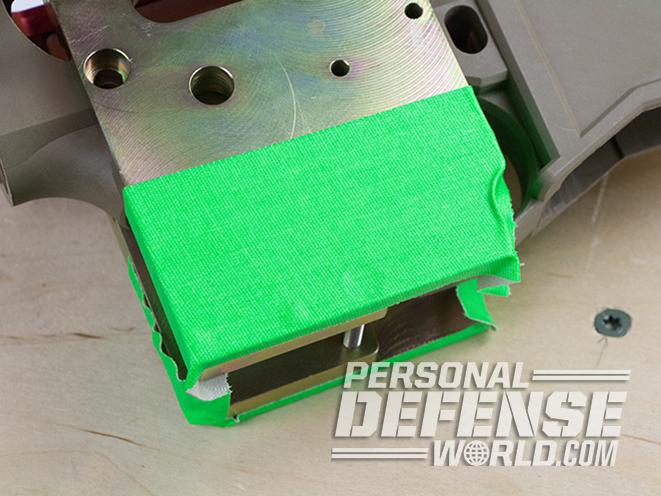
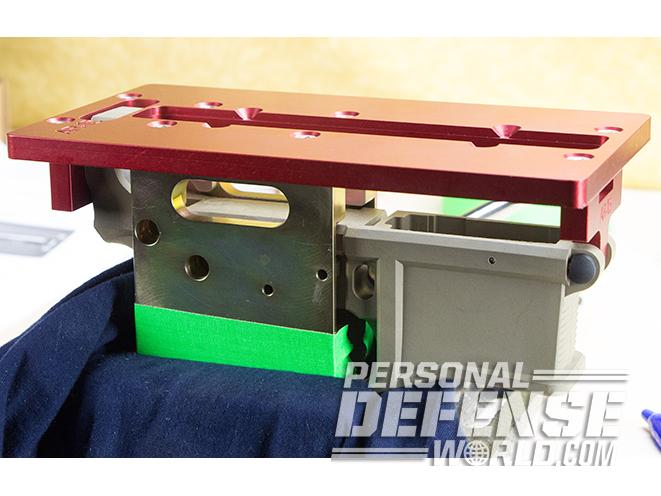
Modulus Arms has an excellent instructional manual on how to assemble the jig. Follow those instructions to assemble the jig around the lower. All of the parts and tools needed for the jig assembly are included with the jig.
Advertisement — Continue Reading Below
Once the jig is assembled, apply several strips of masking tape to the side pieces. These will come into contact with the vise, and the masking tape will help protect the appearance of the jig. You can also use an old T-shirt to further protect the jig from the vise. Just make sure that the jig is both level and secure in the vise prior to any machine work.
3.) Start Drilling
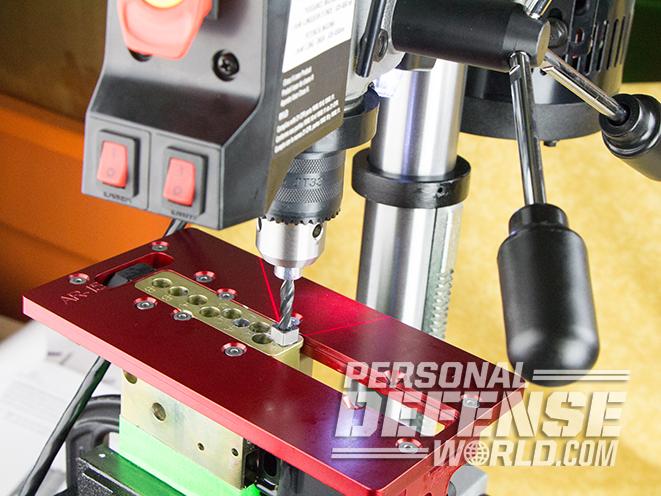
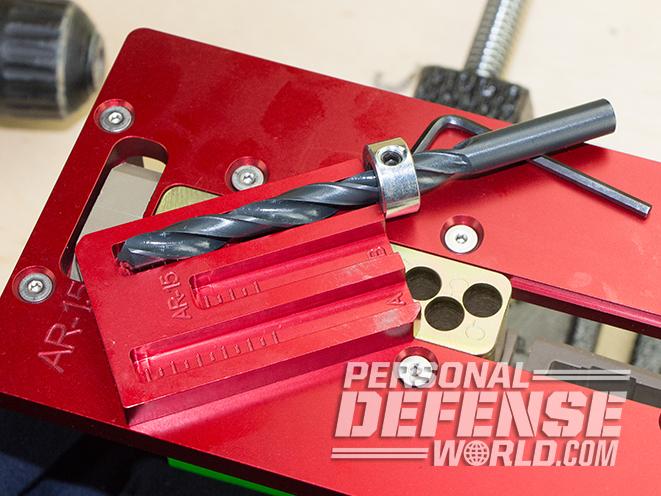
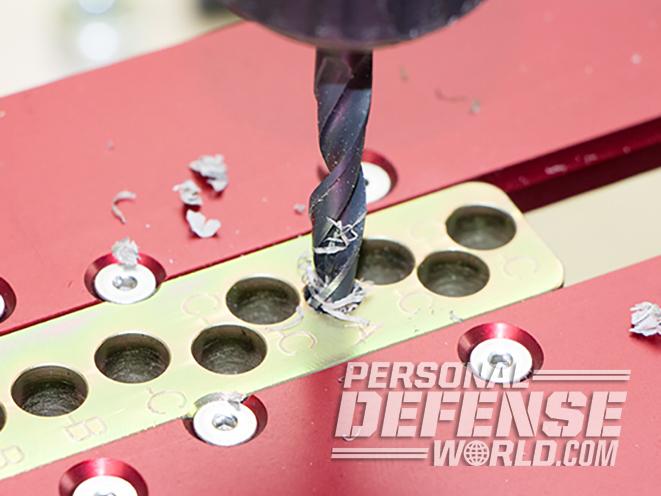
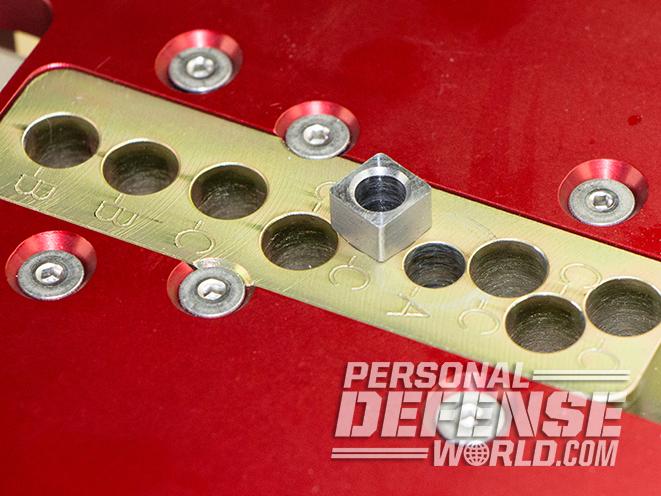
The jig comes with an insert that shows where you need to begin drilling holes. Some of the holes are of different sizes and depths. Follow the jig instructions to make sure you are using the correct size bit for each hole.
Advertisement — Continue Reading Below
To control the depth of the holes, Modulus Arms includes a drill stop and a template. To use them, select the correct drill bit size, place the bit into the template and then tighten the drill stop to achieve the correct drilling depth.
It is important to check the drill stop after each hole to ensure you still have the correct depth. The drill stop may loosen, which could cause you to drill too deeply. I failed to check frequently on a prior build and unintentionally drilled through the bottom of the receiver. As Ben Franklin admonished: Measure twice, cut once.
When drilling, you want to keep a small brush and shop vacuum handy to clean up the debris. If you are machining an aluminum lower, you also want to use a cutting fluid or WD40 to keep things lubricated. I’ve found that WD40 works fine. I’ve tried machining polymer lowers with and without WD40 and have not noticed any difference.
Advertisement — Continue Reading Below
- RELATED STORY: How To Build Your Own AR Pistol
TIP #3: I have found that polymer lowers do not need a drill press to be completed with the Modulus Arms jig. However, you do need a high-torque drill. I found a consumer-grade drill did not offer enough power to cut the holes I wanted. However, a prosumer 19.4-volt cordless had more than enough juice to get the job done.
If you are finishing an aluminum lower, I’ve found that a handheld drill takes much longer than it does with a polymer lower. An aluminum lower also requires more force behind the drill, which means it’s easier to break a bit. Even though the jig is intended to be used with handheld tools, I recommend using a drill press for the holes on an aluminum lower. A consumer-grade, table-top 10-inch drill press from your local home-improvement store will make short work of the drilling.
TIP #4: I recommend using the Modulus Arms Speed Drill Kit. The sleeve drops into the jig holes, allowing you to perfectly align a pilot hole in each spot. This helped me finish the machining process more quickly.
Advertisement — Continue Reading Below
4.) Mill The Fire Control Pocket
At this point, you will remove the drilling template from the top of the jig and replace it with a milling template. This is where the router comes into play. Modulus Arms has a list of inexpensive routers that work well with the jig. I use a Rigid R24012, a suggested router that I bought at a local home-improvement store. I have found that the Rigid works well on both polymer and aluminum lowers.
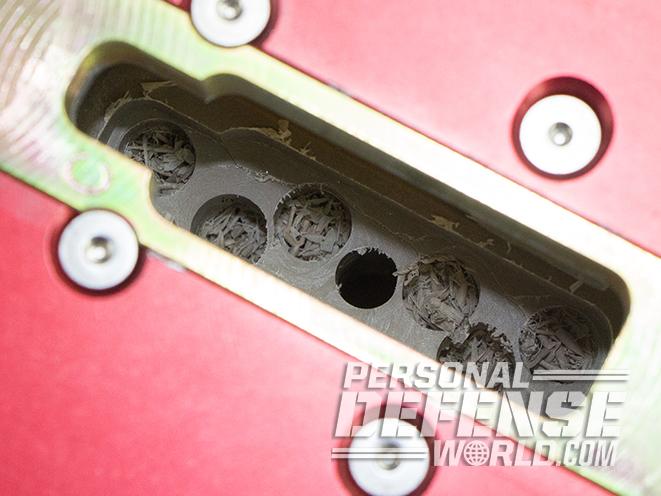
Using the depth template and end mill bit, set the proper depth and begin milling out the fire control pocket. Begin with the bit in one of the holes drilled in Step 3 prior to turning on the router. Once the router is up to speed, begin to connect the holes with short circular motions. Make liberal use of your vacuum and apply cutting fluid or WD40.
Once the first pass is done, move the bit to the next depth as indicated on the depth template and repeat the process. Continue this process until the entire pocket has been milled out.
5.) Mill The Rear Shelf
Flip the milling template around per the Modulus Arms instructions. This will allow you to mill the rear shelf. Mill the shelf in the same manner you milled the fire control pocket.
6.) Mill The Trigger Hole
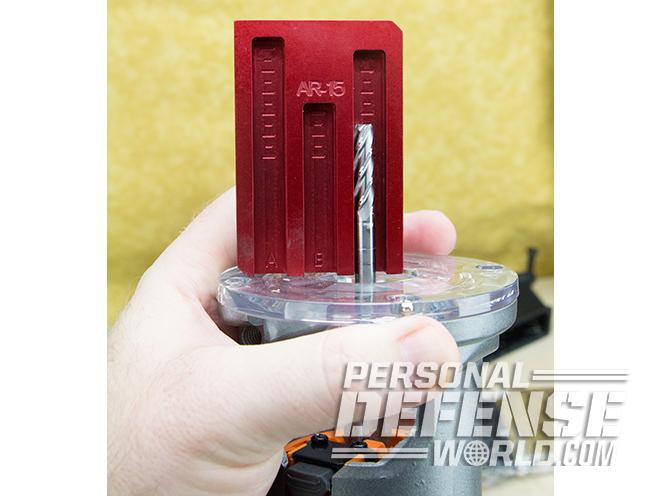
There should be a hole in the bottom of the receiver from the drilling done in Step 3. Using the milling and depth templates, set up the router for the proper depth and mill out the trigger hole in the same manner you did the fire control pocket.
7.) Safety & Fire Control Pin Holes
Remove the jig from the vise. There is an additional screw that you will now insert to increase the support of the two jig legs. Follow the Modulus Arms instructions on inserting the screw. Use masking tape on the top plate of the jig, then secure the jig in the vise using that top plate. The jig should now be on its side.
Drill out the safety selector hole and fire control pin holes. Do not drill all the way through the receiver—only drill the top half of the receiver. Then turn the jig over in the vise and drill the same holes on the opposite side of the receiver.
8.) Finishing Touches
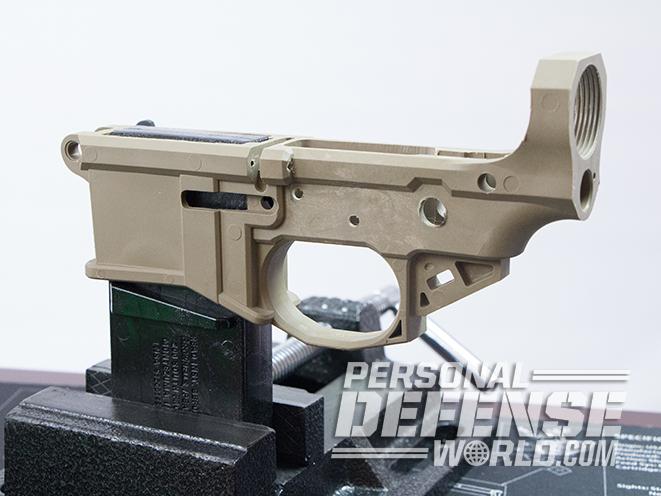
Take a moment and admire your work. At this point, the hunk of polymer or aluminum has become a legal firearm. Treat it as such, as you are now responsible for it just as if you purchased a complete rifle at your local gun shop.
Now you’ll want to make sure you clean the lower well. Check it well for any bits of debris and brush them out if you find any. If you were using WD40 or a cutting fluid, the lower is probably a bit oily, so wipe it down with a bit of degreaser or other cleaner before continuing.
Once you’re done inspecting your work, it is time to make it into a functioning firearm by adding a lower parts kit, a stock and an upper receiver.
For More Information
Brownells
brownells.com; 800-741-0015
Modular Arms
modulusarms.com; 607-288-2715
Polymer80
polymer80.com; 800-517-1243
For more from author Richard Johnson, visit http://www.
This article was originally published in ‘Gun Buyer’s Annual’ 2017. To subscribe, visit outdoorgroupstore.com.
