Many firearms on store shelves today are painted, and for many people, that suits them, but I prefer a nice, blued finish. I’m not partial to just one; matte or shiny finish both have a place. How a firearm is blued isn’t alchemy. It’s just simple chemistry. All it takes is a little planning and a lot of elbow grease to blue a gun properly. Today, we will look at the alchemy of bluing.
Going Old School For Modern Guns – The Alchemy of Bluing
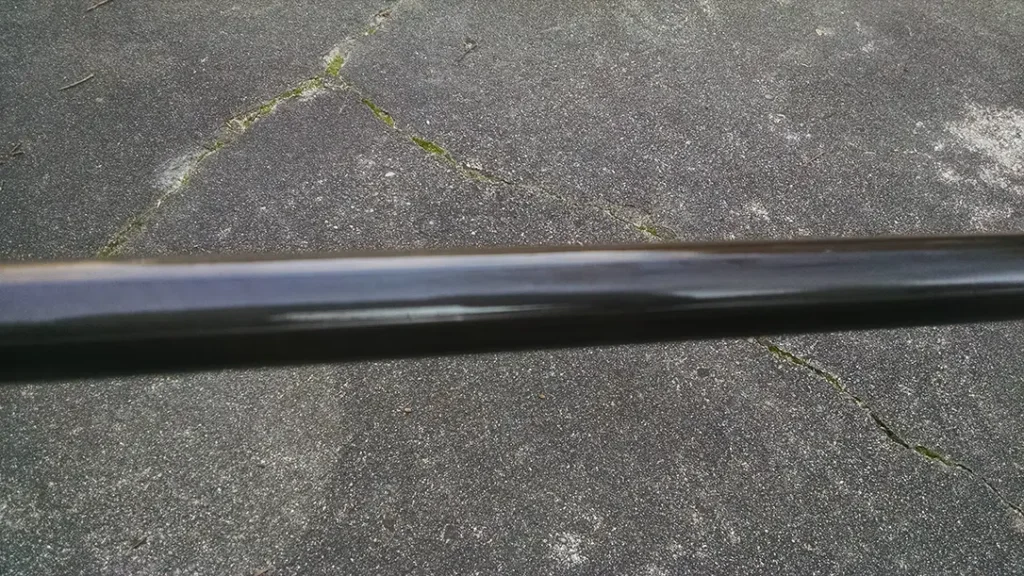
The elbow grease part is getting the metal prepared for bluing. If you want to achieve a brilliant, shiny blue similar to the old Weatherby rifles, then it will require more time polishing. This step is more time-consuming compared to a simple matte finish.
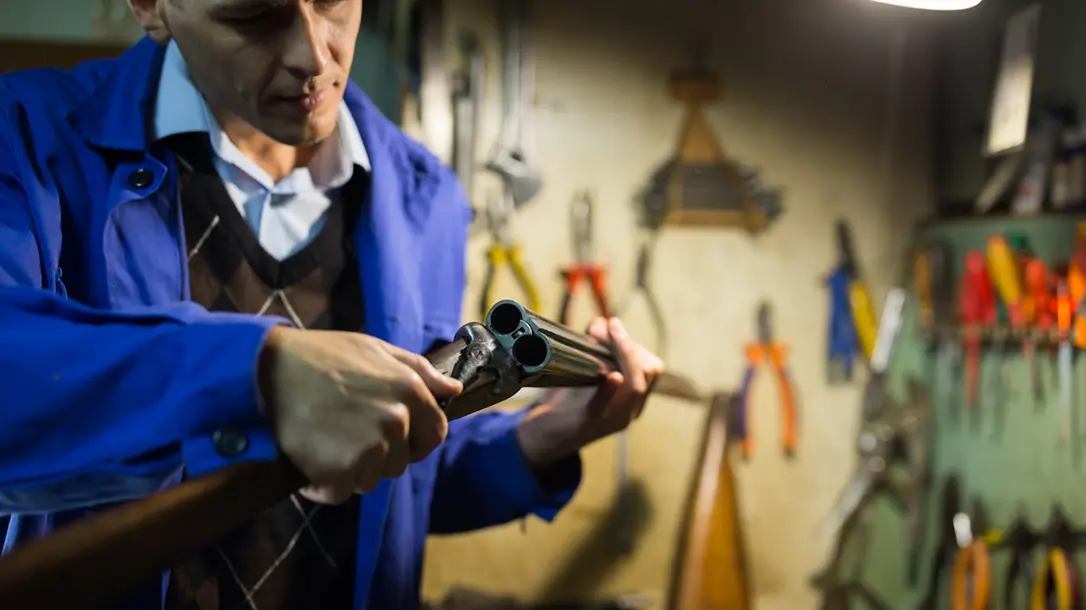
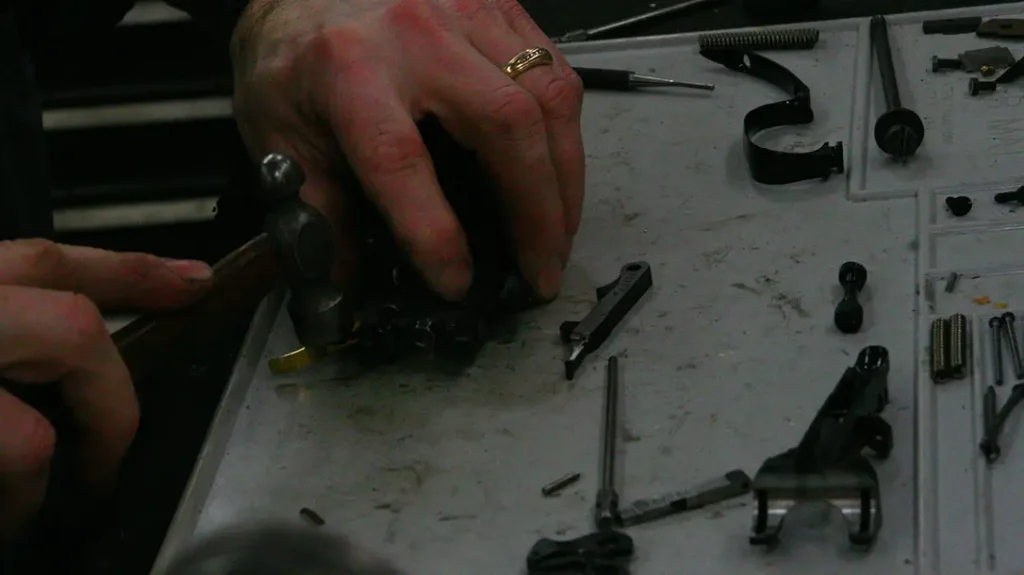
When bluing, I begin by ensuring the firearm operates properly so there are no surprises. The next step is the chore of disassembly. Disassembly bins are helpful. This way, you can keep things organized by separating parts that need to be polished and blued from those that do not.
Advertisement — Continue Reading Below
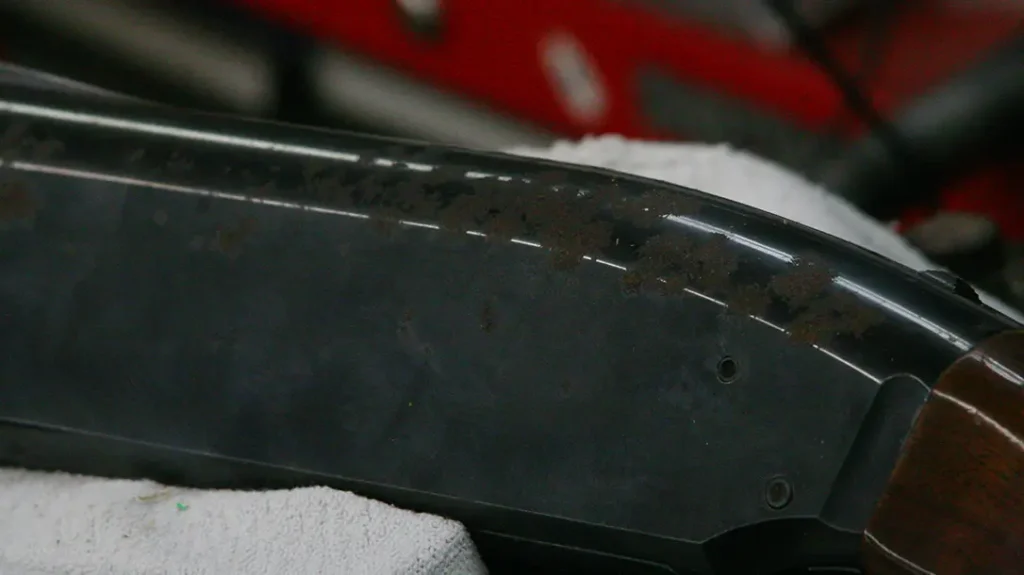
If the firearm is heavily scratched, rusted, or pitted, a mill file is used to remove the defects. Once this step is completed, it is time to begin polishing. I begin with a course paper like 120 grit and gradually progress through finer grits until the final finish is obtained.
If the gun is to be matte-blued, it can be simply bead blasted in a cabinet. Then it is degreased and dipped into the bluing solution.
Advertisement — Continue Reading Below
Another Way to Skin a Cat
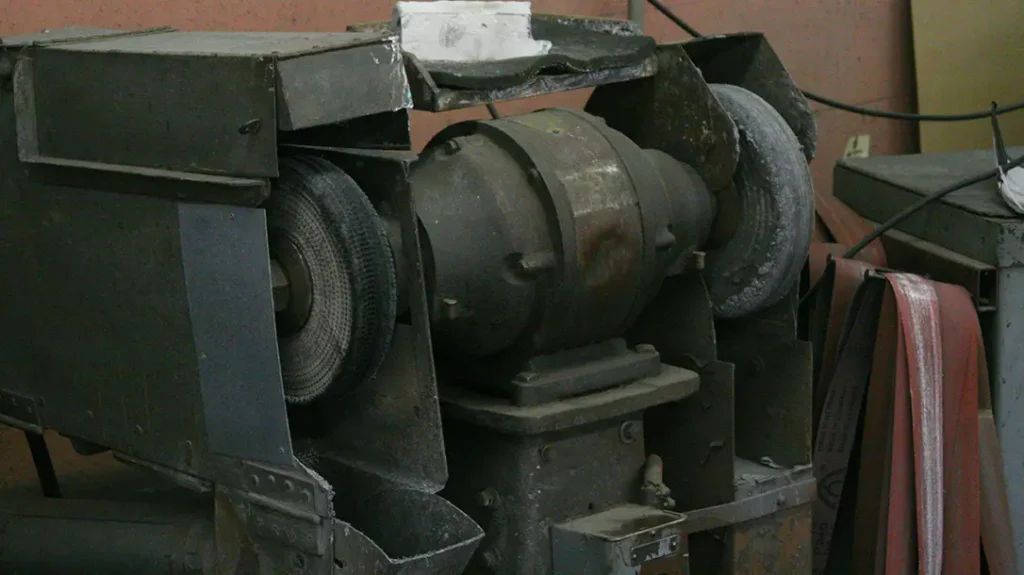
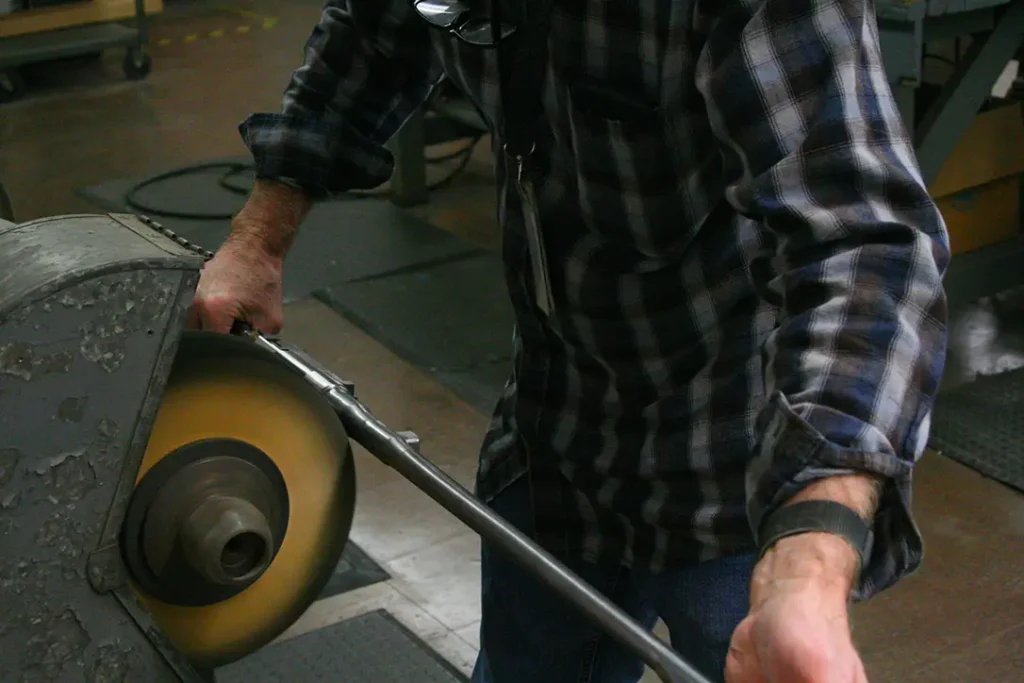
Many shops are completely equipped and utilize buffing wheels on power buffers specifically set up to handle metal. Skilled workers polish a firearm ready to blue in under an hour on simple firearms. More complex firearms will take a bit longer, as they take more time to polish. Hand polishing is often required. Care must be taken when power buffing as the lines of the firearm or engraving can become washed out.
Advertisement — Continue Reading Below
The Mixture
While there are several bluing methods, the most popular one is hot blue. Hot bluing involves heating a mixture of chemicals, premixed or mixed by the gunsmith into water.
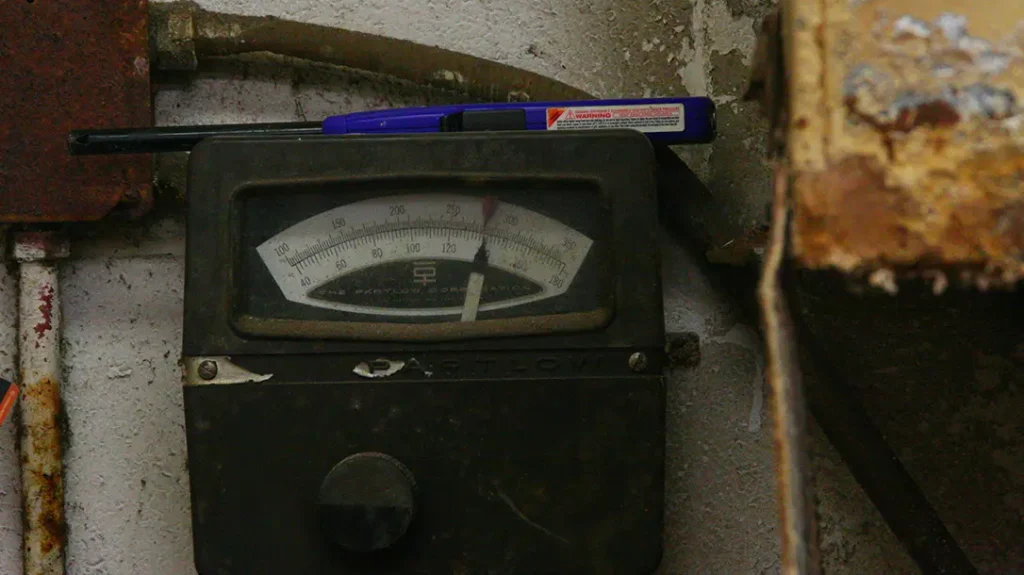
Once these salts are added to the appropriate amount of water, they are heated to approximately 290-310 degrees, depending on the steel alloy being blued. Care must be taken when preparing and heating the salts. Introducing the parts into the hot solution must be done cautiously. Any voids in the salts can cause them to erupt. Even a small splatter on exposed skin is quite painful. I can attest to this. I have been splattered more than a few times in my 30-plus years as a gunsmith.
Advertisement — Continue Reading Below
Ready For a Hot Bath
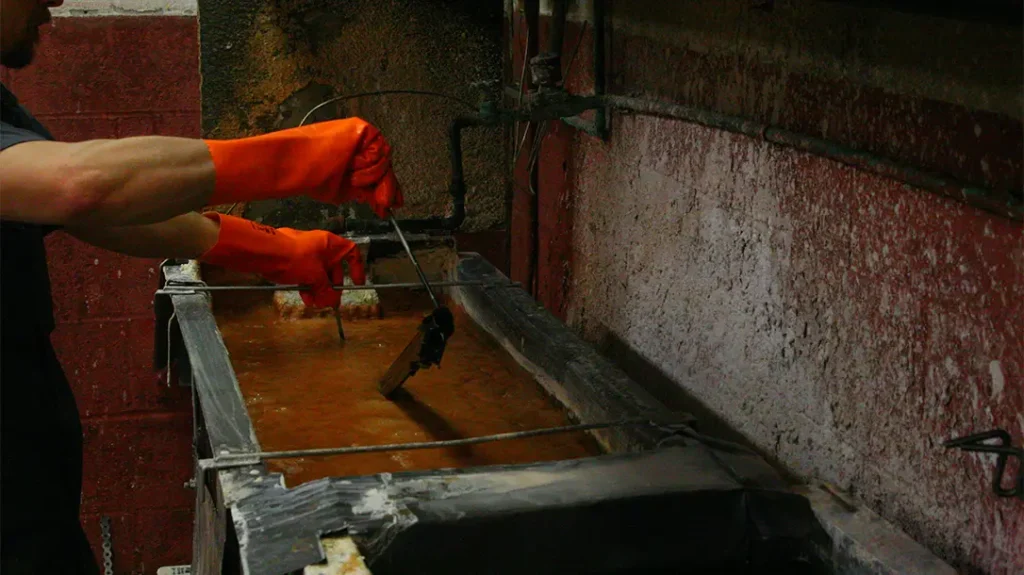
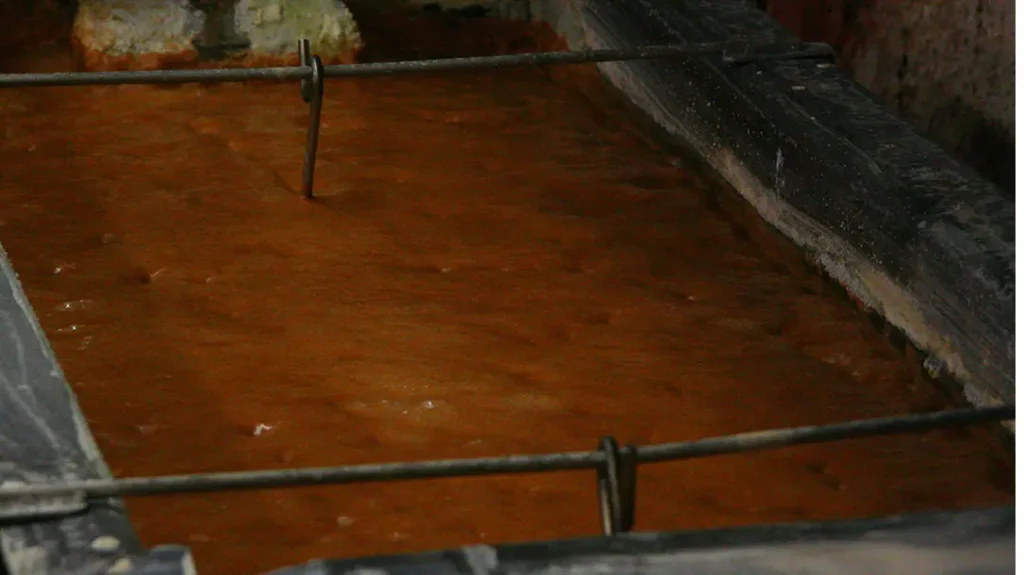
The parts are carefully degreased, immersed back into the clean cold water, quickly lifted out, and then carefully submerged into the boiling bluing solution. The firearm is suspended using hangers, allowing the bleaching solution to reach every nook and cranny without touching the side or bottom of the tank.
Aluminum and bluing salts do not mix. If an aluminum part is accidentally placed into the hot bluing solution, it will melt away. I have had parts disappear after a brief bath in the salts. I now keep a magnet and check parts if I am unsure of their metallurgy.
Advertisement — Continue Reading Below
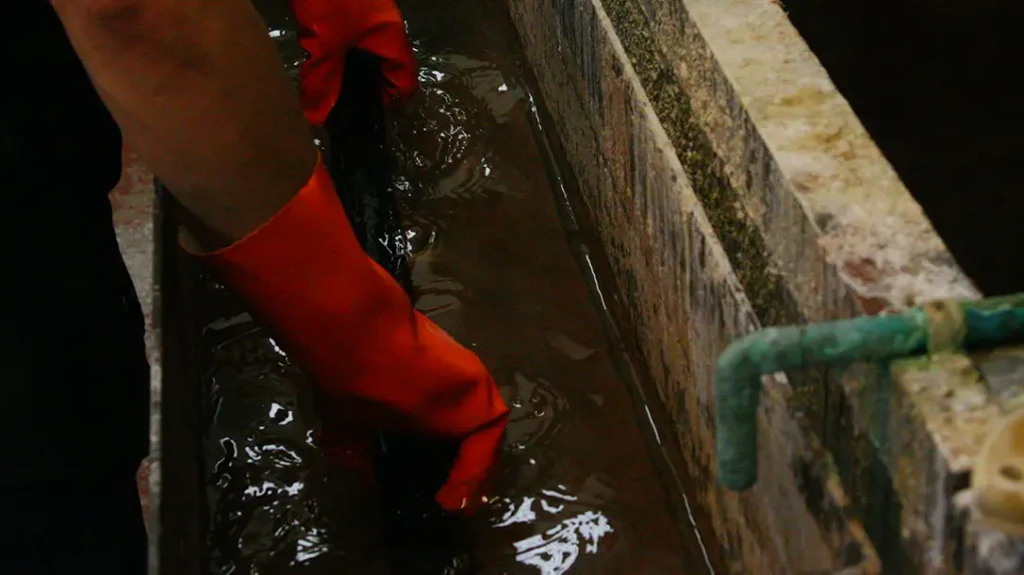
The amount of time a part is submerged in the bluing solution is irrelevant. Rather, the temperature of the bluing salts determines when the bluing process is complete. Once the metal is blued, the gunsmith removes the part from the bluing salts. It is then quickly submerged into cold, clean water to stop the bluing process.
All the remaining salts inside the receiver or barrel are removed by rinsing the parts in cold water. Next, the parts are placed into a hot water bath with just water to allow the salts to be completely washed out of tight spaces like barreled receivers. These parts are often left in the hot water for up to an hour. Then they are submerged immediately in water, displacing oil. Next, they are hung to allow the oil to drain off the parts. A coat of light grease is applied to the freshly blued parts while still warm to the touch.
Advertisement — Continue Reading Below
Care must be taken not to scratch the freshly blued parts. Once the grease is wiped off, the bore cleaned, and the firearm reassembled, it is ready to test fire to ensure it operates properly.
Rust Bluing
Caustic salts can also eat away at soft soldered parts, like many older side-by-side shotgun barrels and Superposed barrels. These barrels and many older period firearms are blued using a rust blue method. The prep work is the same: lots of elbow grease until the desired finish is achieved. This usually involves up to 320 grit. Next, the parts are degreased and dried. It is best to read the instructions to determine how the manufacturer suggests using their product.
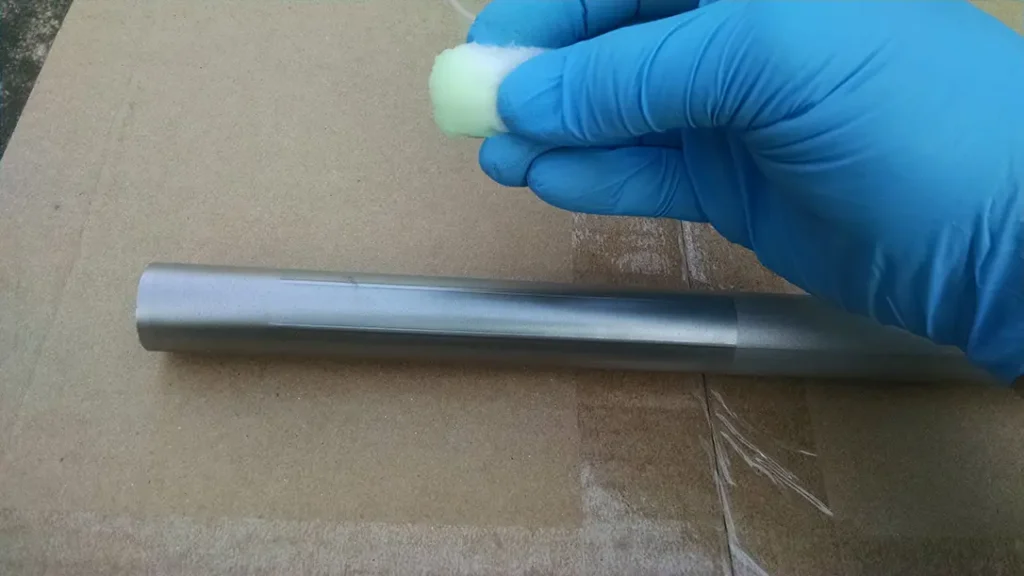
Some manufacturers instruct the bluing solution to be applied to cold metal, while others suggest heating the metal slightly with a heat gun before applying the bluing solution. Next, apply the solution onto a cotton swab, taking care not to touch the metal with your bare hands. The oil from your fingers could ruin the bluing process. Use a light touch to apply it to the metal while carefully not overlapping the strokes. Once finished, set the firearm aside to dry thoroughly. Many of the solutions require humidity to accelerate the oxidizing process. Others require boiling the parts. Be sure to read the instructions to determine the manufacturers’ suggestions.
The Alchemy of Bluing
The freshly blued parts are then carded with fine steel wool or a soft-bristled wire wheel mounted in a drill. This removes excess oxidation. Subsequent coats are applied, and the steps are repeated until the desired finish and metal color are achieved.

The barrel is then oiled or waxed to the desired finish. The firearm is then ready to be reassembled and enjoyed.
For more information, visit: www.rustblue.com