Well-known in-line muzzleloader pioneer and inventor Tony Knight once told me that a good trigger is the most critical component to shooting a rifle accurately. His admonition has stuck with me after all these years, and I can attest personally to the difference a crisp trigger can make, both when trying to shoot small groups and when hitting what your are aiming at when faced with a quick shot that must be made almost instinctively. And yet, circumstances exist that work to prevent manufacturers from providing rifles with crisp, clean triggers. One manufacturer motivation for setting the trigger pull heavy is to avoid lawsuits. Another is the desire to build combat-style weapons less susceptible to a negligent discharge during adrenaline-charged firefights.
Trigger Troubles
One of the word’s worst trigger pulls is the AK-47’s. I can manage decent accuracy with a military two-stage trigger, but the AK’s trigger confounds me and just about anyone else who tries to shoot consistently. My first inquiries led me to believe that nothing could be done to improve an AK’s trigger pull, but I’m never one to leave a rifle alone when it doesn’t perform up to my personal expectations.
Advertisement — Continue Reading Below
When I recently tested a Yugoslavian M76, a squad-designated marksman rifle chambered in 8x57mm Mauser and patterned after an AK, I was appalled at the same sloppy AK-style trigger. This, after all, is a military sniper rifle. I was once again motivated to figure out how to improve an AK’s trigger.
I called a friend at a mail-order gun parts shop and asked him about a potential fix; he replied that about the only remedy was to install a new modified trigger. His company was out of stock. So my search continued. At last I came across an American Gunsmithing Institute (AGI) DVD addressing this very topic. Titled The AKS-47/MAK90 Semi Auto Type Rifle Trigger Job, it does a good job explaining how the trigger works and how to improve it.
To learn how to improve an AK trigger, I acquired a Century International Arms AK-47 GPWASR-10. Right out of the box, the trigger pull was 2 pounds, 14 ounces. It also had a “hitch” at the beginning of the let-off. Warning: Be sure you understand the mechanics of an AK trigger so that you don’t create an illegal or unsafe weapon. AGI provides multiple DVDs on the AK in addition to their Trigger Job DVD.
Advertisement — Continue Reading Below
I quickly learned that the wide variation in AK triggers results in various degrees of trigger sear engagement. What results is a relatively light trigger, but it’s nearly impossible to “feel” when the sear is going to break.
The Refinements
The AK trigger exhibits three types of engagement: neutral, positive and negative. A neutral trigger engagement shows full engagement between the hammer and the trigger sears. A negative cam angle trigger is an unsafe situation wherein the hammer begins to disengage and ride forward before the sear releases. Both negative and neutral trigger engagements are unsafe. The ideal is to have a positive engagement wherein the trigger and the hammer springs force the trigger to re-engage with the hammer sear when the trigger is partially pulled and released.
Advertisement — Continue Reading Below
The goal is to smooth out the hitch at the beginning of the pull and change the amount of travel for the disconnector, allowing it to contact the back of the trigger before the trigger sear lets off. This situation creates a “wall” when pulling the trigger, producing resistance the instant before the sear disengages. In essence, I would be creating a two-stage trigger.
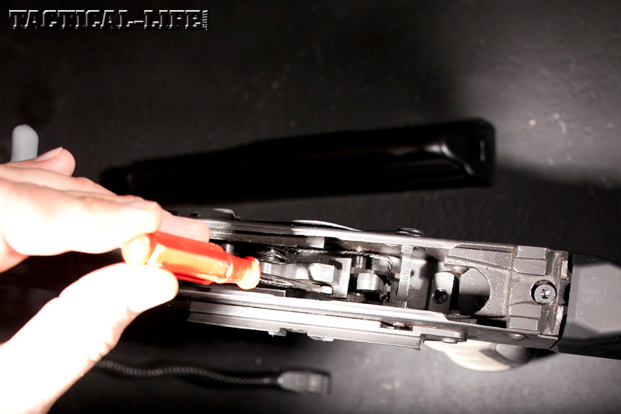
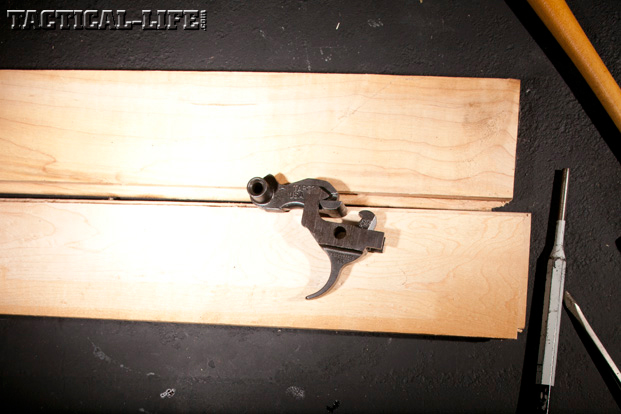
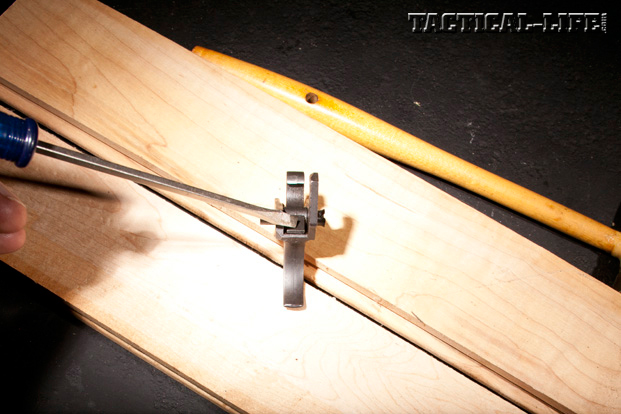
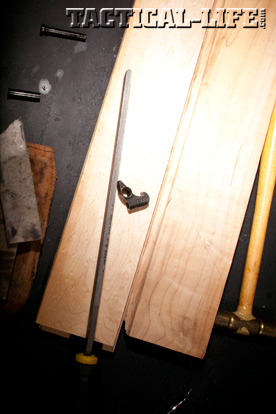
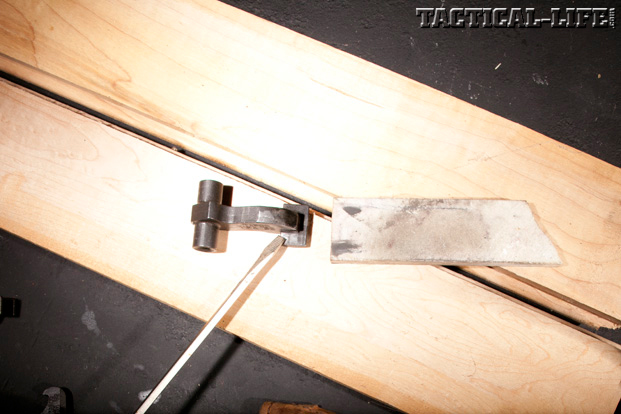
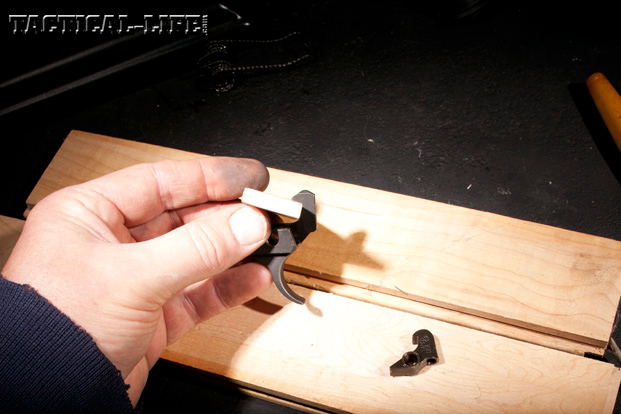
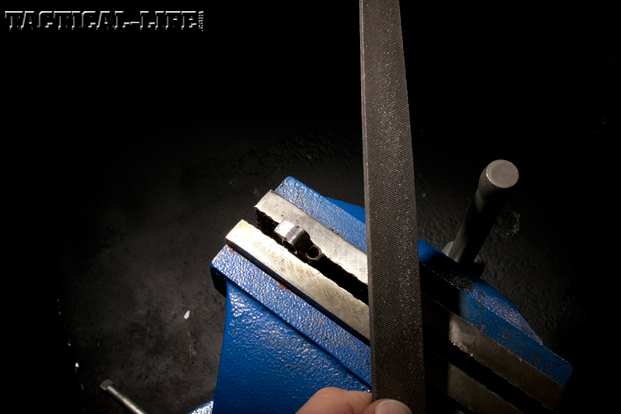
REMOVE AND DEBURR: In improving the trigger, the first task is to remove the trigger and hammer. On examining the trigger, you will see if it’s a single- or double-sear setup. The AK’s trigger and hammer need their cam surfaces smoothed to remove slight burrs. For that I used a medium Arkansas sharpening stone. Remember, you don’t want to change the geometry of the trigger or hammer, so don’t grind or file—just polish. The best way to polish is to hold the stone in one hand and the hammer or trigger in the other.
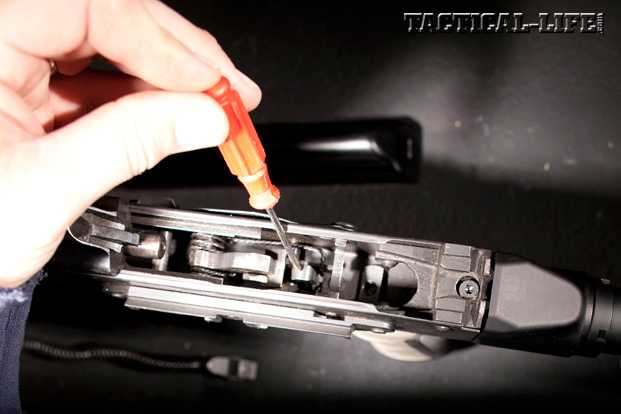
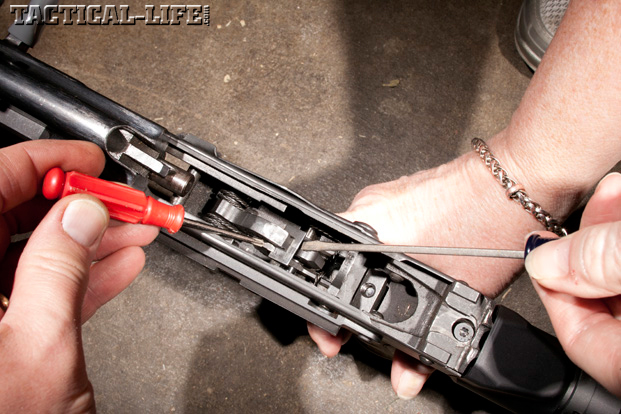
FILE WORK: The next task is to file down the disconnector reset mechanism, thereby allowing the forward portion of the disconnector to come into contact with the back of the hammer as the trigger is pulled. After a couple of file-and-try efforts, I had enough material removed to let the disconnector contact the back surface of the hammer. After final reassembly, the trigger pull weight rose to 3 pounds, 11 ounces, and it provided a wall when the trigger was depressed.
Advertisement — Continue Reading Below
CHECK THE SET: If you tackle this job, be sure to test it thoroughly before firing. I found that a forward surface on the trigger was touching the trigger hole in the bottom of the receiver and keeping the hammer from resetting properly. I took a needle file and smoothed the inside front surface of the trigger hole in the receiver, fixing the problem. When I finally test-fired the rifle, I only loaded one round into the magazine.
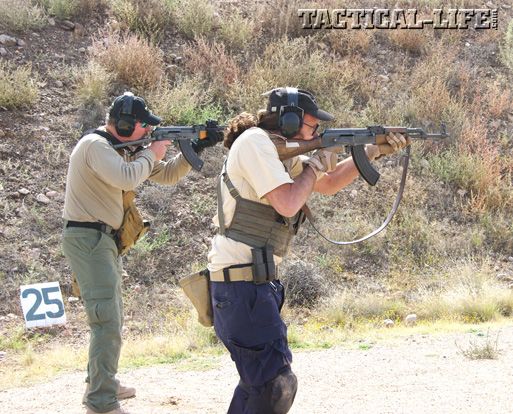
TESTING: When I fired the first shot, I consciously held the trigger to the rear to ensure that the disconnector worked. When I released tension on the trigger, I heard a reassuring click as the disconnector disengaged and the trigger captured the sear surface of the hammer.
I followed up by testing two rounds: Everything worked flawlessly. I was happy with the smooth-as-silk trigger pull, and I could feel the wall, indicating when the sear was about to break.
Advertisement — Continue Reading Below
If you want to improve the feel of your AK trigger, get your hands on the AGI DVDs and learn the inner workings of this rugged rifle. When you do, you’ll be ready to tackle this job yourself. (americangunsmith.com; 800-797-0867)
Check out this article about how to Elevate Your AK: A Guide to Midwest Industries AK Upgrades!
Advertisement — Continue Reading Below