In the firearms world, there’s an undeniable allure to the classic revolver. Its rugged design, simplicity, and reliability have made it a timeless favorite among shooters. Yet, for those uninitiated, feeding a wheelgun can be a bit of a challenge to do smoothly. Fear not, as mastering this essential skill is both manageable and rewarding. Let’s look at some fundamentals of how to load a revolver.
How to Load a Revolver: Step by Step
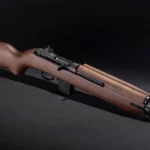
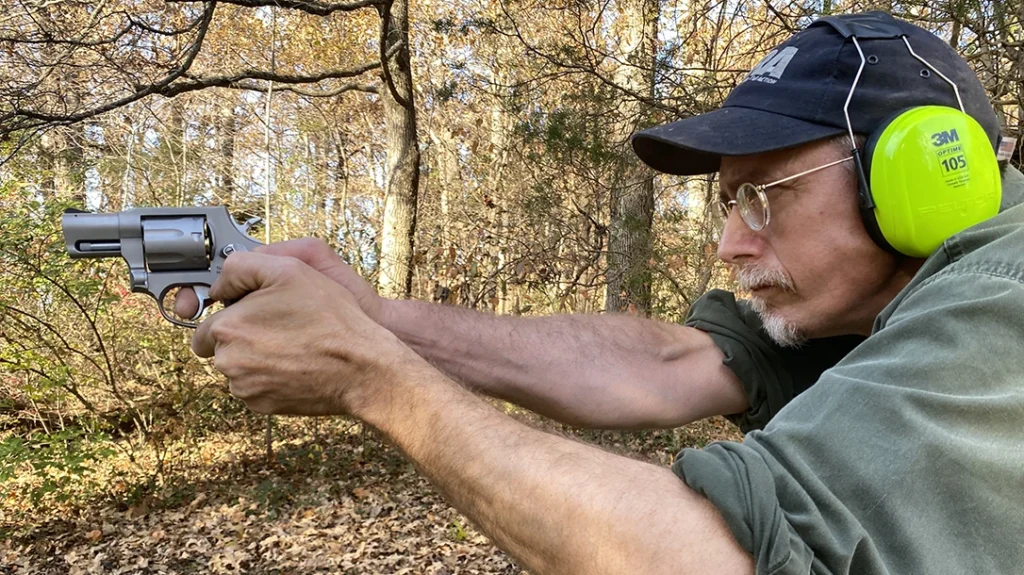
Before diving into the loading process, it’s important to familiarize yourself with the anatomy of your revolver. Revolvers typically feature a rotating cylinder that houses multiple chambers, each capable of holding a single cartridge. The cylinder revolves with each pull of the trigger, aligning a fresh round with the barrel for firing.
Step 1: Safety First
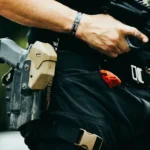
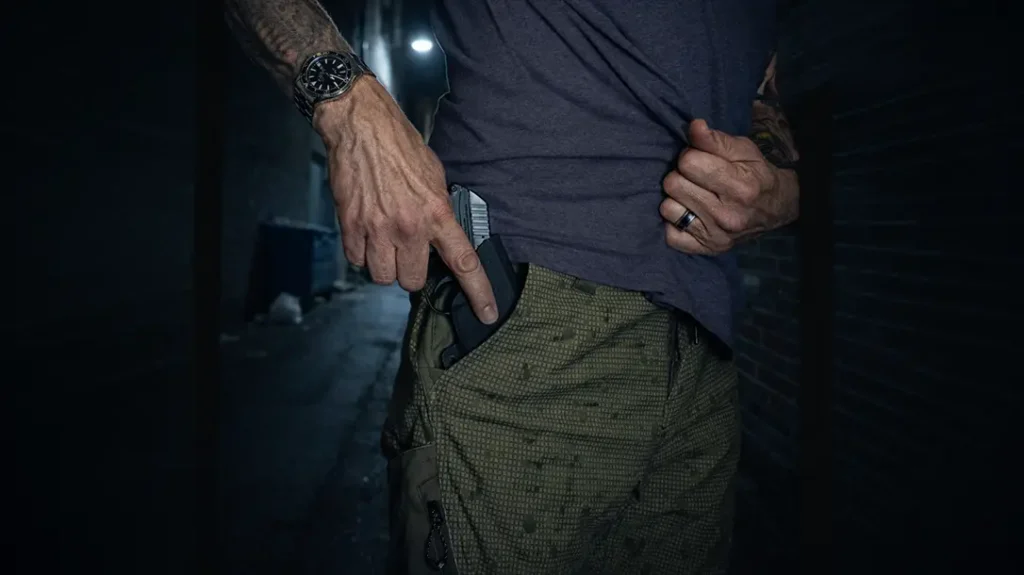
As with any firearm-related activity, safety should always be your top priority. Before loading your revolver, ensure that the weapon is pointed in a safe direction and that the barrel is clear of obstructions. Keep your finger off the trigger until you’re ready to shoot, and treat every gun as if it were loaded.
Advertisement — Continue Reading Below
Step 2: Open the Cylinder
Most revolvers feature a swinging cylinder that can be accessed by pressing a release latch located on the frame of the gun. Depress the latch and swing the cylinder outwards with your support side fingers, exposing the individual chambers for loading.
Step 3: Select Your Ammunition
Choosing the right ammunition for your revolver is important for both performance and safety. Refer to the manufacturer’s specifications to determine the appropriate caliber and cartridge type for your firearm. Always inspect each round for signs of damage or defects before loading them into the revolver.
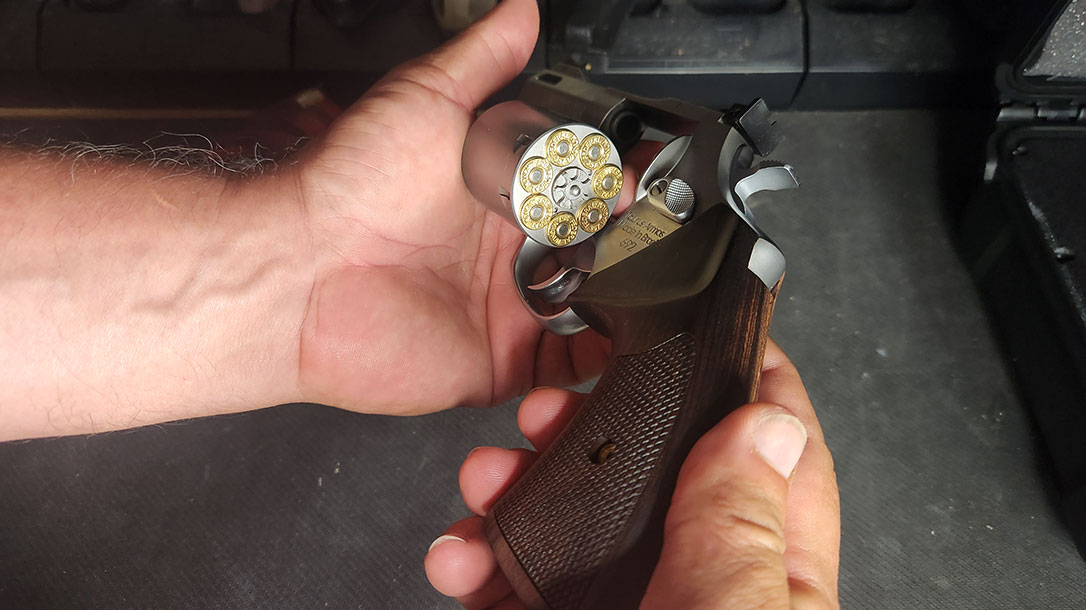
Step 4: Load the Chambers
With the cylinder open and your selected ammunition at hand, it’s time to load the chambers. Insert a single round into each chamber, ensuring that the base of the cartridge is fully seated against the back of the chamber. If you are shooing rimless ammunition, make sure to use a round clip to hold the rounds in place in the cylinder.
Advertisement — Continue Reading Below

You also have the option of using a speed loader, which allows you to load the entire cylinder at once. Regardless of your choice, practice to make the action smooth.
Step 5: Close the Cylinder
Once all chambers are loaded, carefully swing the cylinder back into its closed position. Ensure that the cylinder locks securely in place before proceeding.
Advertisement — Continue Reading Below
Step 6: Rotate the Cylinder
To verify that each chamber is properly aligned with the barrel, gently rotate the cylinder by hand. You should feel a distinct click as the cylinder locks into position. Confirm visually that no rounds are protruding from the cylinder, as this could cause a malfunction during firing.
Step 7: Perform a Function Check
Before holstering or firing your revolver, performing a function check is essential to ensure everything is in working order. Check that the cylinder rotates smoothly without binding, and that the trigger and hammer function correctly.
If any abnormalities are detected, refrain from using the firearm until the issue has been resolved by a qualified gunsmith.
Advertisement — Continue Reading Below
Step 8: Practice Makes Perfect
Loading a revolver is a skill that improves with practice. Take the time to familiarize yourself with the process, repeating each step until it becomes second nature. Consider enrolling in a firearms training course or seek guidance from experienced shooters to refine your technique and develop safe handling habits.
While loading a revolver may seem tough at first, it’s a fundamental skill that every gun owner should master. It is drastically different from our standard semi-auto guns and can seem to be a slow process.
With time and repetition, you can gain speed as well as become more fluid and confident in the process.
Advertisement — Continue Reading Below