To many, the process of mounting a scope might seem daunting. You know that in order for it to function correctly, proper mounting is essential. Vortex Optics states that the overwhelming majority of complaints about riflescopes not shooting properly are due to improper scope mounting. Fear not, as with the right tools and knowledge, installing a scope on a bolt rifle can be a straightforward and rewarding endeavor. In this guide, I’ll walk you through the step-by-step process of how to mount a riflescope to your bolt-action rifle.
How to Mount a Riflescope
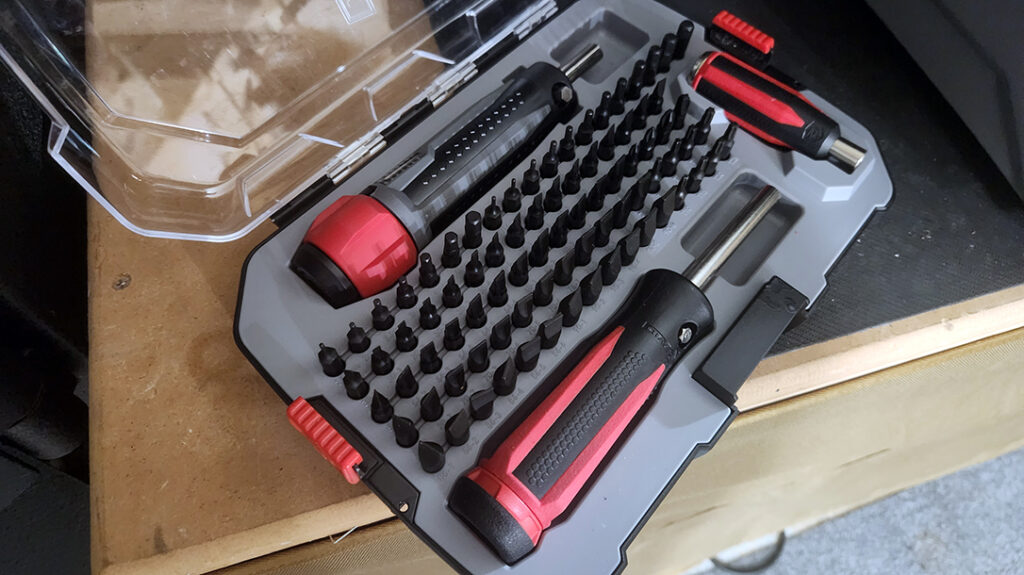
1. Gather Your Tools
Before you begin, ensure you have all the necessary tools and materials at hand. You’ll need a mounting kit, consisting of scope rings and a scope base specifically designed for your rifle model. Additionally, you’ll require a torque wrench, screwdriver set, spirit level, and gunsmithing screwdriver bits. The torque wrench is critical. Borrow one, buy one, or don’t mount your own scope. This is a key piece of equipment you can’t do without. Check out RealAvid for specialty kits and tools.
Advertisement — Continue Reading Below
2. Prepare Your Rifle and Scope
Start by ensuring you are working with an unloaded rifle. Place the rifle in a secure gun vice or rest to stabilize it during the mounting process. Next, remove any existing sights or scope mounts from the rifle’s receiver to provide a clean surface for mounting the new scope.
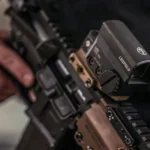
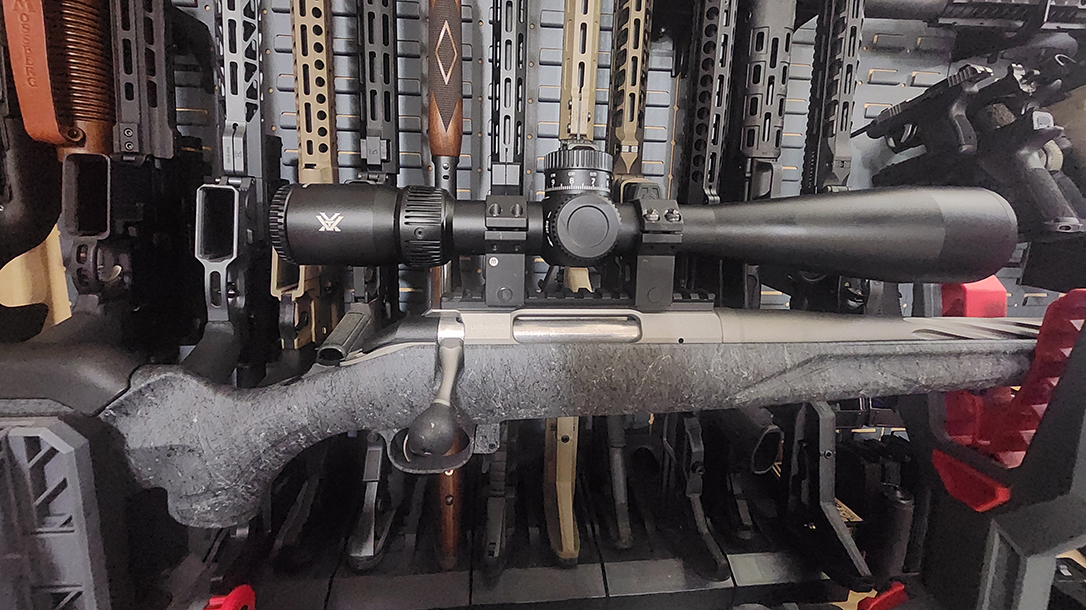
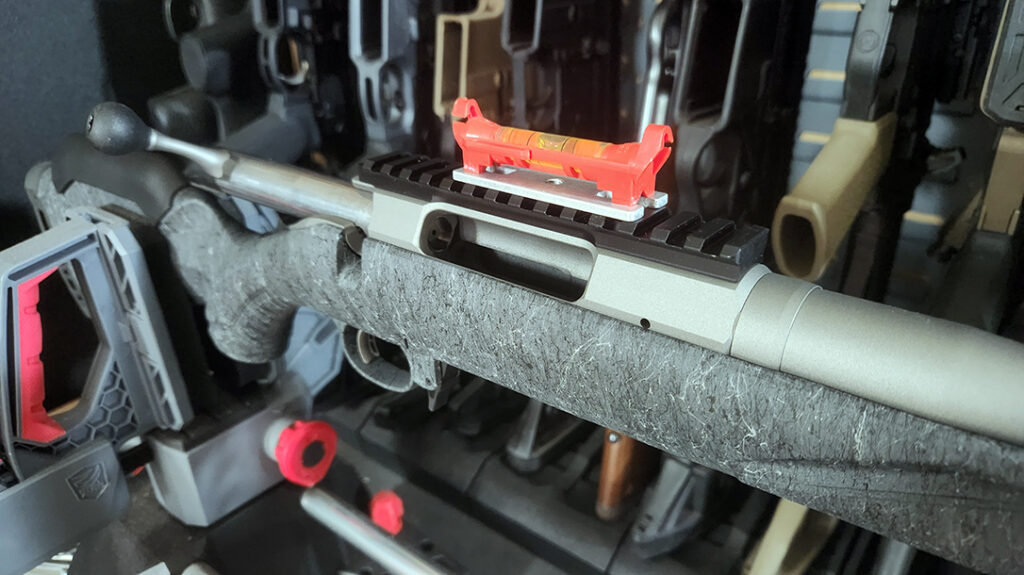
3. Attach the Scope Base
Begin by attaching the scope base to the rifle’s receiver using the provided screws. Align the base with the pre-drilled holes on the receiver and ensure it is centered and level using a spirit level. Tighten the screws gradually and evenly, alternating between screws to prevent uneven tension. Apply Blue Loctite to the base screws if you like and torque the screws using the manufacturer’s specifications with your torque wrench.
4. Position the Scope Rings
Advertisement — Continue Reading Below
With the scope base securely attached, it’s time to position the scope rings. Place the bottom halves of the rings onto the base, ensuring they are aligned with the mounting slots and spaced appropriately for your scope’s tube diameter. Set the rings forward as much as possible in the rail before tightening. This will help eliminate any movement during recoil.
5. Place the Scope
Carefully place the scope onto the bottom halves of the rings, ensuring it is positioned correctly for eye relief and comfort. Adjust the scope forward or backward within the rings until you find the optimal placement, typically around 3 to 4 inches from your eye.
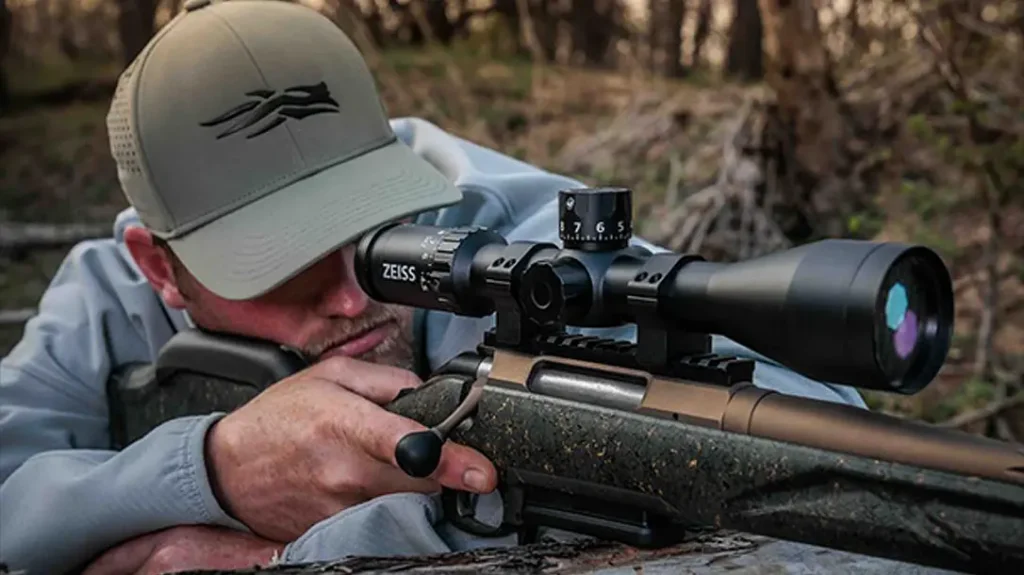
6. Check Alignment and Level
Before securing the scope in place, double-check its alignment and levelness. Use a spirit level placed across the scope’s turret caps to ensure it is perfectly level. Additionally, verify that the reticle is aligned vertically and horizontally with the rifle’s bore using a bore-sighting tool or by visually aligning with a distant object.
Advertisement — Continue Reading Below
7. Secure the Scope Rings
Once you’re satisfied with the scope’s position and alignment, carefully place the top halves of the scope rings over the scope tube. Ensure the rings are oriented correctly and that the screws are positioned to provide even pressure on the scope tube. Gradually tighten the screws in a crisscross pattern, alternating between screws to maintain even tension. I personally use and suggest blue Loctite on these screws to help keep them in place.
8. Torque the Screws
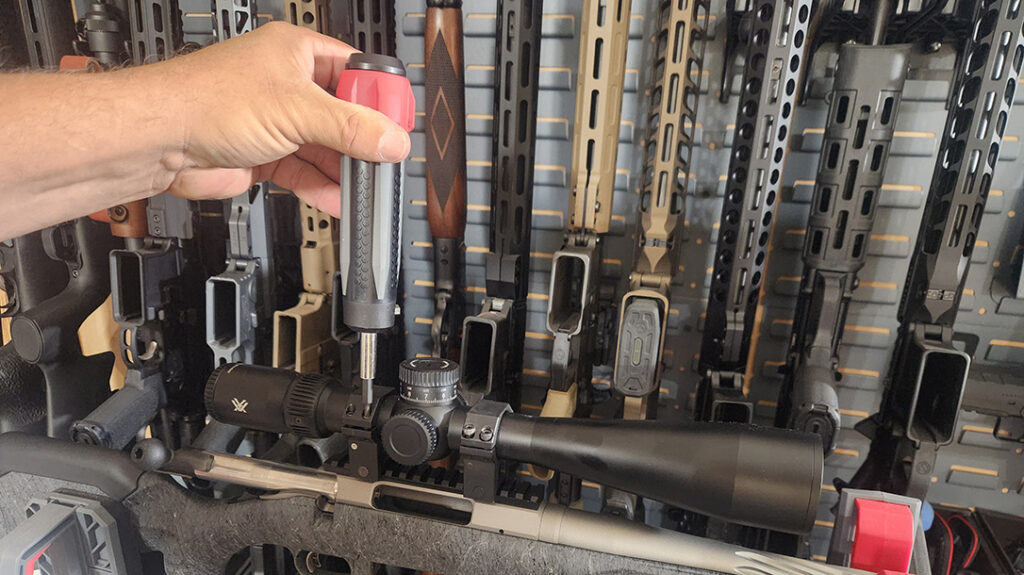
To prevent over-tightening and potential damage to the scope or rifle, use a torque wrench to tighten the mounting screws to the manufacturer’s specified torque settings. Refer to the scope and rifle manufacturer’s instructions for the recommended torque values, as these may vary depending on the materials and design of the scope and rifle. To say that this is critical is an understatement. Over-torquing the screws can damage the internal scope mechanism.
Advertisement — Continue Reading Below
9. Check and Adjust Eye Relief
With the scope securely mounted, check the eye relief by shouldering the rifle in your shooting position. Adjust the scope forward or backward within the rings if necessary to achieve a full and clear sight picture without any dark rings around the edges.
10. Final Checks and Zeroing
Before heading to the range, perform a final check of all screws and fittings to ensure everything is secure. Once satisfied, proceed to zero your rifle and scope combination at your desired distance, following the zeroing procedures outlined in the scope’s user manual.
Congratulations! You’ve successfully installed a scope on your bolt rifle. With your new optic in place, you’re now ready to enjoy improved accuracy and precision in your shooting endeavors. Remember to periodically check and maintain your scope mounts to ensure they remain secure and reliable. Happy shooting!
Advertisement — Continue Reading Below